

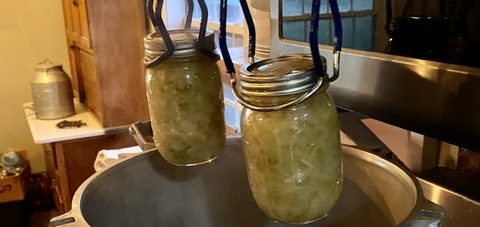
One of the facets of our ‘off the beaten path’ life that catches attention is home canning. Questions about canning come from different groups. Old-school canners want to swap war stories and recipes. Folks, who’ve made pickles or jam, want reassurance and information before venturing into pressure canning. Many who’ve never canned, but want to, need support. Finally, more and more, we meet people who have no idea what home canning is.
So, let’s answer that question before we get into the details. Mason jars weren’t invented to be farmhouse decor. (Although, I’ve seen some cute ideas.) The jars were made so Grandma (or Great-grandma) could preserve food when it was available. I use jars to ‘can’ produce from our farm, sale foods bought in bulk, and ready-to-eat meals for crazy nights. We have two deep freezers. If we have bulk foods, about half goes in the freezers, but I try to can the other half. If you’ve ever lost power to a full freezer, it can be devastating. Canned goods aren’t affected by power outages!

AKA: Salsa, Marinara, Rotel…
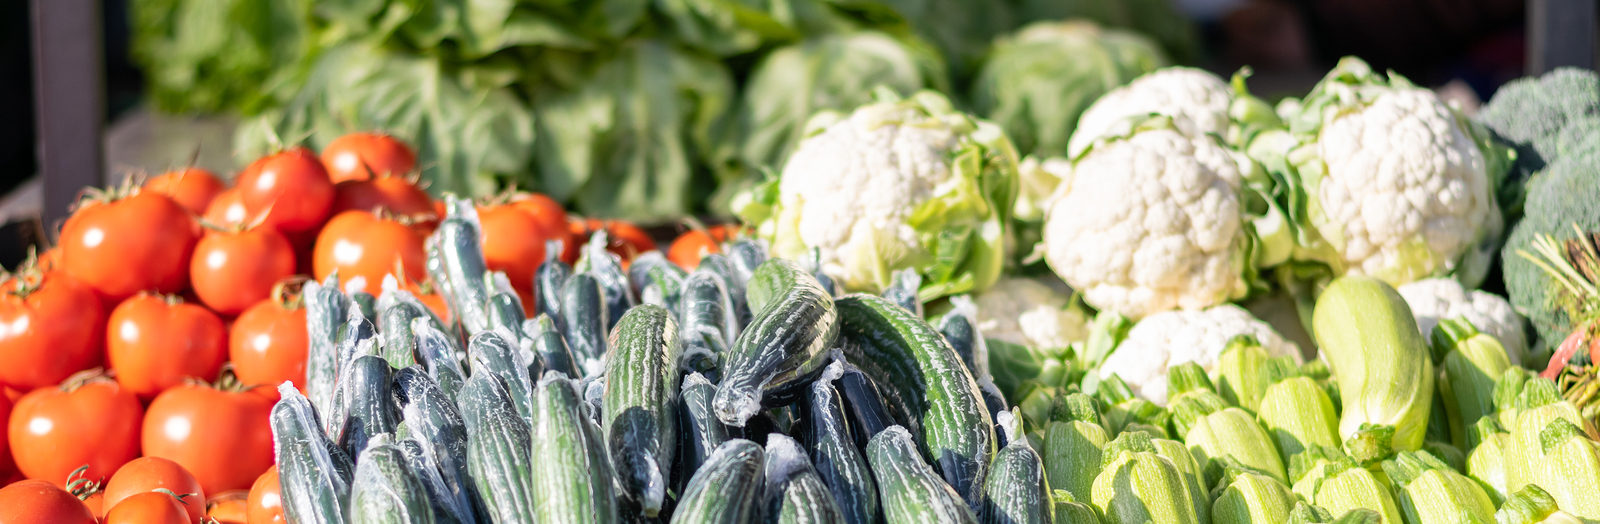
Home canning includes several different methods of processing food to make it shelf-stable. This means food that’s been correctly processed can be stored and used in much the same way commercially canned goods are. In fact, most foods, apart from grain and dairy products, can be safely canned at home. (However, some foods, like summer squash, have better texture when frozen rather than canned.)
How long are home-canned foods usable? Well, according to this article by the Utah State University Extension, home-canned food is good for two years. Many people use home-canned goods long after this two year period. However, on this blog, I’m presenting the recommended food handling guidelines.
During the recent food shortages, we received a bunch of home canning questions. So, I decided to put together a series of posts about canning. In this series, we’ll discuss the things folks should know before beginning to can, as well as, detailed information about two canning methods. If you’re an experienced canner, please comment with anything I miss. We want new canners to be well-armed with facts.
However, be mindful of what you share. No one should make decisions based on “I’ve always done it this way”, “My grandma did this for 70 years”, “They didn’t have pressure canners in covered wagons”, or “I’ve never known anyone who died from it”. (I’ve actually been given canning suggestions based on these things through the years.🤦🏻♀️) The only information posted/approved here will be in line with current food safety recommendations.

I’ve been canning for over 30 years. I’ve never had an issue with spoilage or illness related to home-canned food. However, there are things that were acceptable when I started canning that are now considered dangerous. Do I agree with all the changes? Nope. Do I agree with most of them? Yep. I’m a researcher by nature and training. When new guidelines come out, I study the rationale behind them. However, I would never allow my personal views to affect the safety of others. So, for me and for this blog, canning is done by the book.
Speaking of books, the Ball Complete Book of Home Preserving
Now, let’s discuss a few definitions:
Clostridium Botulinum-This is a bacteria. The spore (like a seed) of this bacteria exists naturally and harmlessly in water, soil, and on the surface of many fresh foods. The spore itself is harmless. However, when in a low-acid, moist, 40-120º F, and low-oxygen environment (like improperly canned food) it begins to grow. As it grows, the bacterium releases a toxin. The toxin causes botulism, a deadly form of food poisoning. (Keep reading. I promise you can do this safely. Just follow the rules.)
High Acid Foods-Foods with a pH of 4.6 or lower. The pH can be naturally low or acidic ingredients such as lemon juice, vinegar, or citric acid can be added to artificially lower it. High acid foods need only be pasteurized to be considered safely preserved. The acidic environment naturally inhibits the growth of botulinum. Examples are jams, jellies, pickles, & tomato products. Research for this definition comes from this section of the USDA Complete Guide to Home Canning.

Low Acid Foods-These foods have a pH >4.6. The less acidic nature of these foods can permit the growth of clostridium botulinum. Low acid foods must be sterilized at a temperature between 240º-250º F. In a home kitchen, these temperatures are attainable only by processing with 10-15 pounds of pressure per square inch (PSI). There is NO safe workaround! A pressure canner is required, and it must be used correctly. Examples of low acid foods are meat, fish, & all fresh vegetables (except tomatoes). Research for this definition is from this section of the USDA Complete Guide to Home Canning.

Now, there are four canning techniques I want to discuss:
Oven Canning: Verdict? ABSOLUTELY NOT! Before 1917, it was considered safe in the US to can low and high acid foods in the oven. According to this article by the United States Department of Agriculture: National Agricultural Library, in 1917 the USDA announced that low acid foods could NOT be safely canned in the oven. Then, in 1944, it was determined to be UNSAFE to can even high acid foods in the oven. The referenced article also details a number of horrific accidents that occurred through the 1940s involving exploding jars and entire ovens. Individuals were severely scalded and some were blinded. If you have a moment, pull up the article and check out the photos. They’re pretty shocking. (There are no people in the photos, just kitchens. I’ll never post or send you to something graphic.)
Atmospheric Steam Canning: Verdict? Safe for high acid foods requiring <45 minutes of processing time. Steam canning requires a special canner. The canner has a shallow pan that holds water and a rack. Jars are placed on the rack above the water. A cover that looks like a deep pot is placed over the pan (base upward) like a lid. When the water is brought to a boil, steam rises and surrounds the jars. The canner is not sealed, so after ~45 minutes, the water is depleted. There’s no way to top up the water.
Since high acid foods can also be water bath canned, I’ve never tried steam canning. When possible, I prefer methods that don’t require single-purpose equipment. However, this article, from Penn State, if you’re interested in steam canning.
Water Bath Canning: Verdict? Safe for high acid foods. Water bath canning involves putting food in sterilized jars and submerging them under boiling water. It requires minimal specialized equipment. A pot deep enough to cover jars by 2-3 inches, a 2-Pack 11-Inch Pressure Cooker Canner Rack/Canning Rack for Pressure Canner – Stainless Steel – Compatible with Presto, All-American and More – By Impresa Products

Pressure Canning: Verdict? The ONLY way to can low acid foods. A pressure canner, with a rack in the base, is filled with racks, jars, and some water (only enough to come about halfway up the jars). The lid locks in place and the pot is set to boil. As steam forms, it pushes air out through a valve. When all the air is out and only steam remains (and continuously streams from the valve), a weight is placed on the valve to limit the steam escaping. Depending on the canner, the temperature is adjusted and/or precision weights are used to reach and maintain a constant level of pressure. The pressure is monitored on a gauge. (There are different pressure/time requirements for different foods and altitudes.) This combination of heat and pressure allows the internal temperature to climb higher than in a non-pressurized pot. These temperatures reach 240º-250º and allow safe canning of low acid foods. The facts for this section were checked at this National Center for Home Food Preservation.

I don’t want to overwhelm anyone by piling on too much information at once. So, I have another post coming next week that’ll include more specific canning information, as well as posts specifically about water bath and pressure canning. Please follow along! Let me know if you have any questions or information to share.
Here are some other links that contain reliable information. They can help you preserve food confidently and safely. Please, check them out!
PennState Extension: Basics of Home Canning
PennState Extension: Canners and Canning Methods That Are Not Recommended
National Center for Home Food Preservation: USDA Complete Guide to Home Canning

This post has been shared at some of our favorite blog hops and linky parties. If you have a moment, please stop by and see the great things being shared at these get-togethers!


One thought on “Home Canning 101”
Thanks for the great tips! We’re featuring this great article on the Homestead Blog Hop this Wednesday. I hope we see more great content from you then.